Photography
Photographing the Lagoon at Golden Hour: Camera Settings and Accessible Spots
Golden hour on the lagoon is not a single moment. It begins when the light turns honey-coloured and the water starts to hold colour instead of throwing it back, and it lingers after the sun has gone behind the mainland. For photographers, that soft window is forgiving and demanding at once: the sky may be bright, the water dark, the tide moving, the air salty. The good news is that you do not need a private balcony or a secret island. Some of the best warm-light photographs come from public stone edges, bridges and ferry stops where you can set up, watch the water and wait.
Start with the light, not the location
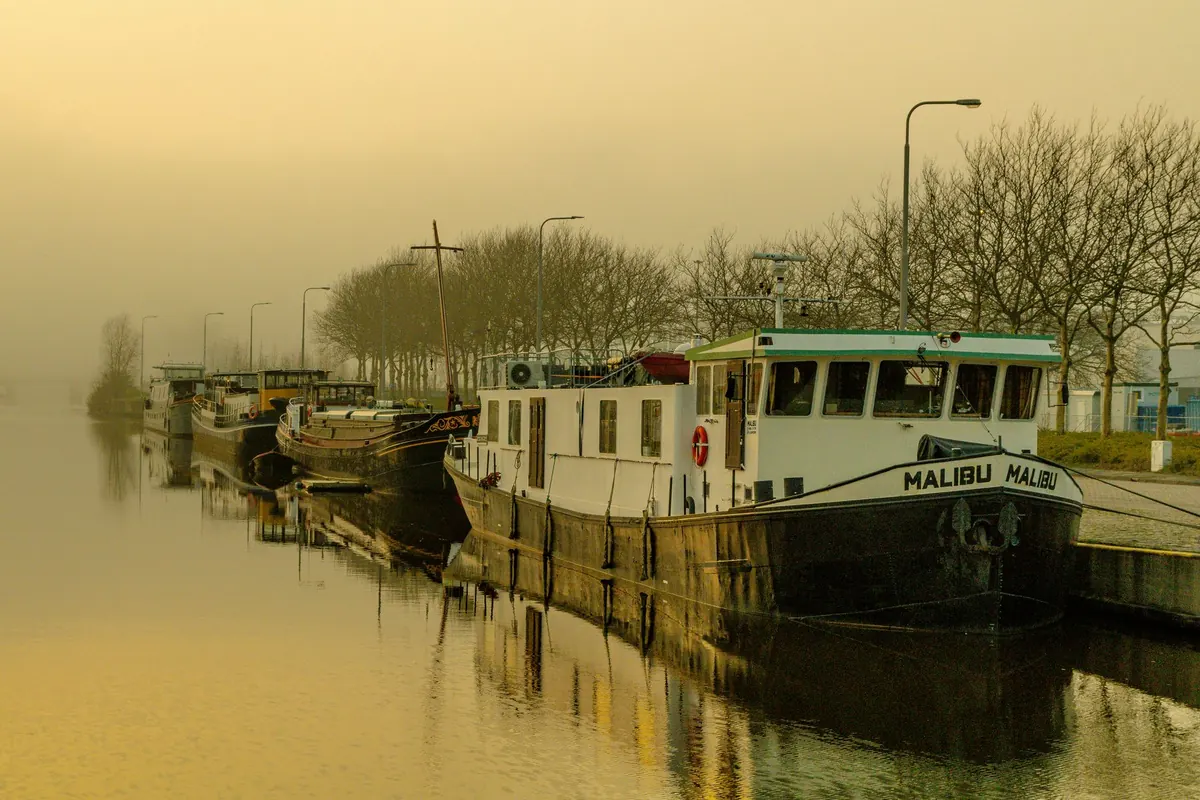
Before you unpack a tripod, spend ten minutes looking at the sky and the water. Golden hour is shorter in the lagoon than on an open coast because buildings and islands cut the horizon, but the reflected light can last longer. Check where the sun will set or rise relative to the channels. A compass or a simple sun-position app helps, but your eyes are enough: find the brightest part of the sky, then look for a foreground that will silhouette against it — a mooring post, a stone bridge, a line of reeds, the curve of a boat hull.
Choose a public spot with room to stand back from the edge. Fondamente, bridge approaches and vaporetto landings are usually good; private courtyards and moored boats are not. If the tide is high, low steps may disappear, so keep your bag and feet on dry stone and move on if the water licks the edge.
Camera settings for warm, wet light
Lagoon scenes have a wide brightness range: a pale sky, dark water, white boats, and stone that can glow or go black. Start in raw, then use manual mode or aperture priority with exposure compensation. Raw gives you room to recover highlight colour in the sky and open up shadows in the stone without the file falling apart.
Exposure and metering
Set the camera to evaluative or matrix metering, then check the histogram after every few frames. Protect the brightest part of the sky: if the highlights clip, the warm colour is gone. A useful habit is to expose so the histogram sits just short of the right edge, then lift shadows later. Bracket three frames at one-stop intervals when the sky is doing something dramatic; it costs nothing and gives you a clean file for the sky and another for the foreground.
Aperture, ISO and shutter speed
Use f/8 to f/11 for most lagoon views. That keeps the foreground stone and distant islands reasonably sharp without asking the lens to do more than it can. Keep ISO low — 100 to 400 is usually enough on a tripod — and let the shutter speed do the creative work. A fast shutter freezes ripples and passing boats; a slow one turns water into silk. For hand-held shots of moving water, try 1/125 to 1/500 second. On a tripod, try 1/2 to 2 seconds and watch what happens to the reflections.
White balance and colour
Auto white balance can cool the scene just as the light turns warm. Set daylight, cloudy or shade, or choose a colour temperature around 5200–6000K and adjust later from raw. Do not chase an orange image. The lagoon at golden hour is warm, but it also has grey-green water, pale stone and blue shadows. Keep some of that contrast and the picture will feel like a place, not a filter.
A simple starting kit for the lagoon:
- File format: Raw, plus a fine JPEG if you want a quick reference.
- Mode: Manual, or aperture priority with exposure compensation.
- Aperture: f/8 to f/11 for wide views; f/5.6 if you want a boat isolated from the background.
- ISO: 100–400 on a tripod, higher only if the light drops fast.
- Shutter: 1/125–1/500 for hand-held water; 1/2–2 seconds for smooth water on a tripod.
- White balance: Daylight, cloudy or 5200–6000K.
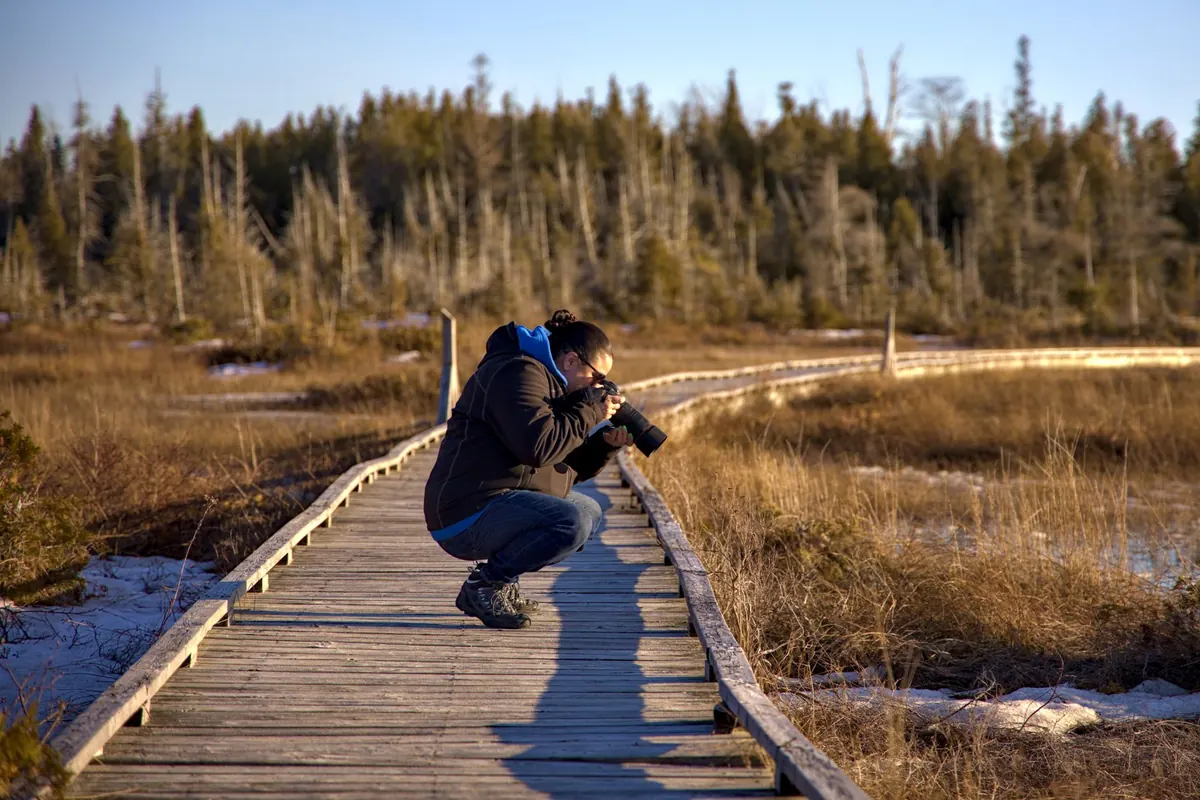
- Support: A light tripod with rubber feet, and a microfibre cloth for spray.
Public viewpoints that reward the walk
Accessible does not mean crowded or obvious. It means you can reach the spot on foot or by public transport, stand safely, and photograph without blocking a doorway or climbing onto private property. In the lagoon, the best public edges often face open water or a wide channel. Here are five reliable kinds of viewpoint to look for, with examples you can adapt to the island you are on.
- Wide stone fondamente. The Zattere in Venice and the Giudecca waterfront give you long, open views across water with mooring posts and passing boats as foreground. Arrive early; the edge fills up.
- Bridge approaches. Small bridges over side canals offer height and a clean line of reflection. Stand on the landing, not the steps, and keep the tripod legs tight to the edge.
- Vaporetto stops and ferry landings. Public transport piers are platforms with a view. Photograph from the waiting area, not the moving boat, and check that your tripod does not block the boarding lane.
- Island edges near Burano, Murano and Torcello. Walk away from the busiest calli until the buildings give way to water. Reeds, low walls and distant marsh are often enough foreground.
- Southern lagoon walls and fishing spots. Places such as Pellestrina and Chioggia have public water edges where the light is open and the horizon low. Check tide and access before you go, and leave gates and private moorings alone.
Composition on water and stone
Warm light flatters almost anything, which is why composition matters. Look for layers: foreground stone or a mooring post, middle-ground water or boats, background islands or sky. Keep the horizon level; the lagoon has few strong verticals, so a tilted horizon is obvious. Use a polarising filter carefully — it can deepen the sky and cut glare on water, but at golden hour it can also strip the warm reflection you came for. Try a few frames with it rotated halfway rather than at full strength. If the water is busy, wait for a gap. A single boat crossing the frame can be the difference between a postcard and a photograph.
Protect your gear and the place
Salt air, spray and soft sand are part of the lagoon. Wipe your lens before you start, carry a microfibre cloth, and use a rain cover or a simple plastic bag if the wind picks up. A tripod with rubber feet is kinder to stone than metal spikes. Keep your bag close in crowds and never set it on a mooring line or a boat cover. Most importantly, leave the spot as you found it. Do not move stones, pick reeds or stand on private pontoons for a better angle. The photograph is not worth a damaged edge or an angry resident.
A simple golden-hour plan
Arrive forty minutes before sunset or sunrise. Scout one public viewpoint, note where the light falls, then set your starting settings: raw, f/8, ISO 200, white balance off auto, histogram visible. Shoot a test frame, check the highlights, and bracket if the sky is bright. Work one composition for ten minutes rather than chasing five. When the colour fades, stay a little longer; the blue hour after golden hour can be just as good for water and stone. Then pack up, wipe your gear and walk back with the light behind you.
Photo: nicos_fotowelt / Pixabay
Related Articles